Due to the EID vacation, our team will be out of the office from June 14th to 22nd. During this time, our support response times may be slightly delayed, but some of our support heroes will do their best to assist. Rest assured, we'll be back to full speed on June 23rd.

Table of contents:

See more

Do you want to learn how to use Webflow and Mailchimp to create signup forms and responsive emails? In this tutorial on Webflow Mailchimp Integration, we will show you how to easily connect your Webflow account with Mailchimp so that you can start sending newsletters, automated emails, and other types of content immediately.

Overview of Webflow and Mailchimp
Webflow
Webflow

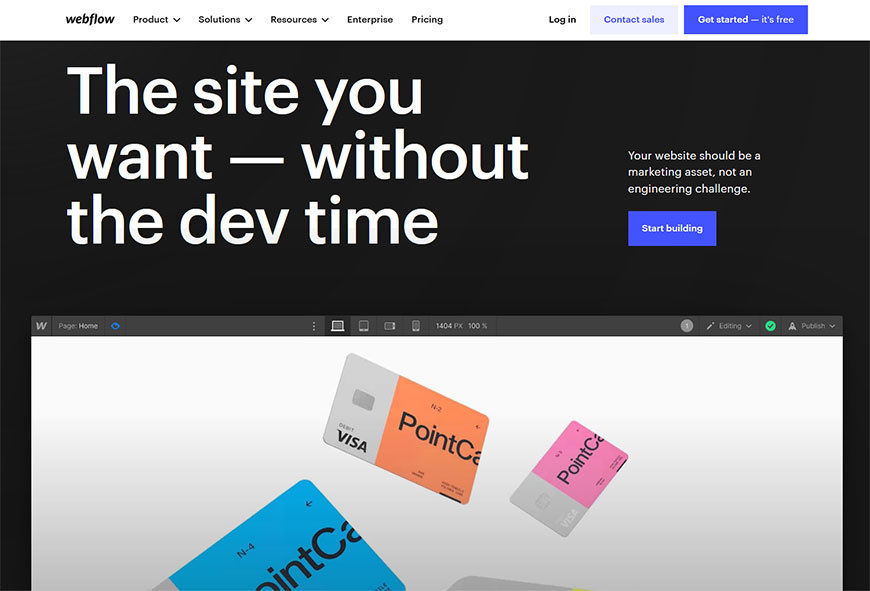
Webflow is an incredibly versatile system that allows anyone to create and design websites without writing a single line of code, regardless of their technical background. With Webflow, you can effortlessly drag and drop elements into the canvas to build whatever you want.

No need to worry about whether it’s mobile-responsive or properly styled – Webflow takes care of those concerns automatically. Furthermore, developers and designers can easily extend their designs with custom code. It’s no wonder why countless businesses have chosen Webflow to handle all their website needs.
Mailchimp
Mailchimp

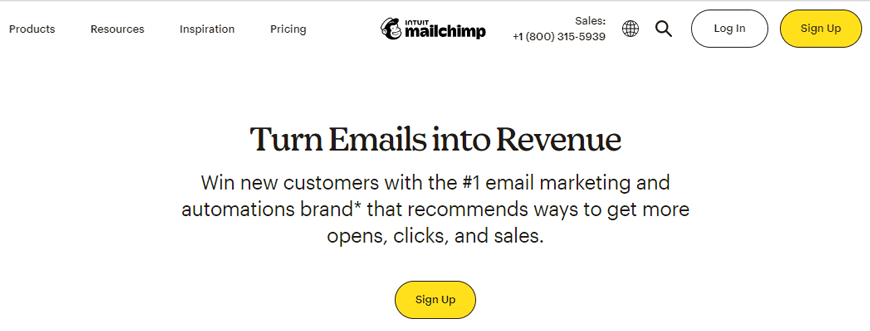
On the other hand, Mailchimp is a leading marketing automation platform with over 14 million users across the globe. With the email marketing platform Mailchimp, businesses of all sizes can easily create, manage, send and store newsletters or automated email marketing campaigns to keep their audiences connected and engaged.

MailChimp has tools that make it easy to build targeted segments, create embedded signup forms, optimize delivery timing, and track real-time results. In addition, the platform allows you to gain insights into how your audience engages with various emails through robust analytics. Its intuitive yet powerful design makes it simpler and more enjoyable while giving you the power to improve campaigns over time.

Benefits of Integrating the Two Platforms

Integrating Webflow and Mailchimp provides an excellent opportunity for businesses to increase their reach and optimize their marketing campaigns. It enables businesses to create stunning designs faster than ever before, as well as automated email campaigns based on customer engagement and website visitors.

Having complete access to powerful design tools on MailChimp contact form integration combined with the automated email marketing capabilities of Mailchimp means that businesses don’t have to sacrifice creativity for efficiency – they can achieve both!

Using such integration, businesses can quickly create highly customized websites that reflect their brand and values while collecting customer data for analytics and creating automated follow-up emails. It helps keep customers engaged and increases revenue – making it a win-win situation.

30+ Top-notch Webflow Templates

Take your website design to the next level with our stunning collection of Webflow templates.

Step-by-Step Guide to Connecting Webflow with Mailchimp

For Webflow Mailchimp Integration, you need to follow a few simple steps such as –

Register a Mailchimp account.

To get started, head to the MailChimp website and click “Sign Up“.

You will be asked to fill in your name, email address, and password – once you do that, click “Sign Up“.

Shortly thereafter, you’ll receive a confirmation email with an “Activate Account” link. Once you use that link, the signup process is complete!

Integrate your MailChimp account with your Webflow website.

Integrating your Mailchimp account with your Webflow website is an easy process.

  1. Log in to MailChimp and select the “Audience tab“.
  2. Navigate to the “Connect a Site” menu item.
  3. Select “Custom Website” and enter the Webflow website’s URL.
  4. Click the “Get Code” button at the bottom of the screen to generate an integration code for your Webflow platform that can be copied and pasted for a complete connection.

Through this simple but powerful process, you can gain more control over your web content and data management, allowing you to maximize operations efficiency.

Insert the MailChimp Code into Your Webflow Site

Adding the MailChimp form code to your Webflow website is a simple process, as it only requires a few steps.

  1. Go back to your website in Webflow and copy the code from the dashboard of your MailChimp account.
  2. Then select “Custom Code” from the options menu, then “Header Code.
  3. Then, after pasting the code into the Header Code tab, click “Save Changes.”
  4. Return to your MailChimp account and click “Connected Sites” after that, then “Check Connection.”

If an error message appears, you must repeat all these steps. However, if no error message appears, you can proceed knowing that you have successfully added MailChimp’s code to your Webflow website!

Getting the “Action Code” from MailChimp

Obtaining the “Action Code” from MailChimp can seem like a hassle; however, it’s quick and easy once you know where to find it.

  1. Go back to your account and select the “Audience” option first.
  2. Look for the “Manage Audience” option and click on it.
  3. When that page loads, scroll down until you see “Signup Form” and then select “Embedded Forms” from the menu that appears.
  4. Find the term “Form Action” in the text editor that appears, and then copy the URL that follows it to your clipboard.

Adding “Action Code” to Your Webflow Website

Adding an “Action Code” to your Webflow website is a great way to extend the reach of your content. Adding it may seem complicated, but it is fairly simple to break it down into individual steps.

  1. In the “Form Settings” tab of your website settings, you must choose the form element you wish to utilize.
  2. Fill up the field names with the necessary data next.
  3. Then insert the “Action code” you previously acquired after adding the “Form Name.”
  4. After everything is finished, click “Post” to save your changes.

That’s it! It only takes a few minutes and can make a world of difference to your online presence.

MailChimp Integration Testing

Testing your Webflow MailChimp integration is a vital part of the website creation process. Once everything has been set up, you’ll want to ensure all data is transferred correctly.

  1. Start by finding the subscription form you made on the public page of your Webflow website.
  2. Enter dummy information in the form field and press the “Submit” button.
  3. Navigate to the “Manage Contacts” link on your MailChimp Audience page.
  4. Check to see if the dummy contact you established is visible.

Publish the Webflow Website

After all the hard work of setting up a MailChimp integration on Webflow, it’s time to hit ‘Publish.

With the press of one button, you have unlocked a new platform for your website. Your MailChimp contacts can easily find what interests them by navigating your webpage and letting them be aware of all the great content you are producing. Are you ready to go live? Then go ahead and hit that ‘Publish‘ button! Your website is ready to share with the world.

30+ Top-notch Webflow Templates

Take your website design to the next level with our stunning collection of Webflow templates.

Frequently Asked Questions

Is Mailchimp appropriate for eCommerce?

One of the top e-commerce marketing solutions available right now is Mailchimp. You can use robust automation, segment your audience, monitor analytics, develop successful marketing campaigns across various media, and more with our all-in-one marketing platform.

What browser works best with Mailchimp?

When trying to figure out what browser works best with Mailchimp, the answer is simple – all of them. Therefore, you can use Google Chrome, Mozilla Firefox, or Safari when accessing and using Mailchimp.

Can Webflow integrate with MailChimp?

Yes, you can easily integrate Webflow with MailChimp in just a few steps.

Final Thoughts

The Webflow Mailchimp Integration has been revolutionary in helping many entrepreneurs and marketers easily set up and manage their MailChimp lists. It enables business owners to collect valuable contact information effortlessly, create targeted campaigns, and increase audience engagement. Not only that, but the automation capabilities have made it even easier for users to create powerful email marketing strategies without having to devote countless hours to the process.

Reader Disclosure: Some of the posts on our site may contain affiliate links. Clicking may earn us a commission at no extra cost to you. Thank you for your support! Read our Disclosure

Table of content:

See more

Do you want to learn how to use Webflow and Mailchimp to create signup forms and responsive emails? In this tutorial on Webflow Mailchimp Integration, we will show you how to easily connect your Webflow account with Mailchimp so that you can start sending newsletters, automated emails, and other types of content immediately.

Overview of Webflow and Mailchimp

Webflow
Webflow

Webflow is an incredibly versatile system that allows anyone to create and design websites without writing a single line of code, regardless of their technical background. With Webflow, you can effortlessly drag and drop elements into the canvas to build whatever you want.

No need to worry about whether it’s mobile-responsive or properly styled – Webflow takes care of those concerns automatically. Furthermore, developers and designers can easily extend their designs with custom code. It’s no wonder why countless businesses have chosen Webflow to handle all their website needs.

Mailchimp
Mailchimp

On the other hand, Mailchimp is a leading marketing automation platform with over 14 million users across the globe. With the email marketing platform Mailchimp, businesses of all sizes can easily create, manage, send and store newsletters or automated email marketing campaigns to keep their audiences connected and engaged.

MailChimp has tools that make it easy to build targeted segments, create embedded signup forms, optimize delivery timing, and track real-time results. In addition, the platform allows you to gain insights into how your audience engages with various emails through robust analytics. Its intuitive yet powerful design makes it simpler and more enjoyable while giving you the power to improve campaigns over time.

Benefits of Integrating the Two Platforms

Integrating Webflow and Mailchimp provides an excellent opportunity for businesses to increase their reach and optimize their marketing campaigns. It enables businesses to create stunning designs faster than ever before, as well as automated email campaigns based on customer engagement and website visitors.

Having complete access to powerful design tools on MailChimp contact form integration combined with the automated email marketing capabilities of Mailchimp means that businesses don’t have to sacrifice creativity for efficiency – they can achieve both!

Using such integration, businesses can quickly create highly customized websites that reflect their brand and values while collecting customer data for analytics and creating automated follow-up emails. It helps keep customers engaged and increases revenue – making it a win-win situation.

30+ Top-notch Webflow Templates

Take your website design to the next level with our stunning collection of Webflow templates.

Step-by-Step Guide to Connecting Webflow with Mailchimp

For Webflow Mailchimp Integration, you need to follow a few simple steps such as –

Register a Mailchimp account.

To get started, head to the MailChimp website and click “Sign Up“.

You will be asked to fill in your name, email address, and password – once you do that, click “Sign Up“.

Shortly thereafter, you’ll receive a confirmation email with an “Activate Account” link. Once you use that link, the signup process is complete!

Integrate your MailChimp account with your Webflow website.

Integrating your Mailchimp account with your Webflow website is an easy process.

  1. Log in to MailChimp and select the “Audience tab“.
  2. Navigate to the “Connect a Site” menu item.
  3. Select “Custom Website” and enter the Webflow website’s URL.
  4. Click the “Get Code” button at the bottom of the screen to generate an integration code for your Webflow platform that can be copied and pasted for a complete connection.

Through this simple but powerful process, you can gain more control over your web content and data management, allowing you to maximize operations efficiency.

Insert the MailChimp Code into Your Webflow Site

Adding the MailChimp form code to your Webflow website is a simple process, as it only requires a few steps.

  1. Go back to your website in Webflow and copy the code from the dashboard of your MailChimp account.
  2. Then select “Custom Code” from the options menu, then “Header Code.
  3. Then, after pasting the code into the Header Code tab, click “Save Changes.”
  4. Return to your MailChimp account and click “Connected Sites” after that, then “Check Connection.”

If an error message appears, you must repeat all these steps. However, if no error message appears, you can proceed knowing that you have successfully added MailChimp’s code to your Webflow website!

Getting the “Action Code” from MailChimp

Obtaining the “Action Code” from MailChimp can seem like a hassle; however, it’s quick and easy once you know where to find it.

  1. Go back to your account and select the “Audience” option first.
  2. Look for the “Manage Audience” option and click on it.
  3. When that page loads, scroll down until you see “Signup Form” and then select “Embedded Forms” from the menu that appears.
  4. Find the term “Form Action” in the text editor that appears, and then copy the URL that follows it to your clipboard.

Adding “Action Code” to Your Webflow Website

Adding an “Action Code” to your Webflow website is a great way to extend the reach of your content. Adding it may seem complicated, but it is fairly simple to break it down into individual steps.

  1. In the “Form Settings” tab of your website settings, you must choose the form element you wish to utilize.
  2. Fill up the field names with the necessary data next.
  3. Then insert the “Action code” you previously acquired after adding the “Form Name.”
  4. After everything is finished, click “Post” to save your changes.

That’s it! It only takes a few minutes and can make a world of difference to your online presence.

MailChimp Integration Testing

Testing your Webflow MailChimp integration is a vital part of the website creation process. Once everything has been set up, you’ll want to ensure all data is transferred correctly.

  1. Start by finding the subscription form you made on the public page of your Webflow website.
  2. Enter dummy information in the form field and press the “Submit” button.
  3. Navigate to the “Manage Contacts” link on your MailChimp Audience page.
  4. Check to see if the dummy contact you established is visible.

Publish the Webflow Website

After all the hard work of setting up a MailChimp integration on Webflow, it’s time to hit ‘Publish.

With the press of one button, you have unlocked a new platform for your website. Your MailChimp contacts can easily find what interests them by navigating your webpage and letting them be aware of all the great content you are producing. Are you ready to go live? Then go ahead and hit that ‘Publish‘ button! Your website is ready to share with the world.

Frequently Asked Questions

Is Mailchimp appropriate for eCommerce?

One of the top e-commerce marketing solutions available right now is Mailchimp. You can use robust automation, segment your audience, monitor analytics, develop successful marketing campaigns across various media, and more with our all-in-one marketing platform.

What browser works best with Mailchimp?

When trying to figure out what browser works best with Mailchimp, the answer is simple – all of them. Therefore, you can use Google Chrome, Mozilla Firefox, or Safari when accessing and using Mailchimp.

Can Webflow integrate with MailChimp?

Yes, you can easily integrate Webflow with MailChimp in just a few steps.

Final Thoughts

The Webflow Mailchimp Integration has been revolutionary in helping many entrepreneurs and marketers easily set up and manage their MailChimp lists. It enables business owners to collect valuable contact information effortlessly, create targeted campaigns, and increase audience engagement. Not only that, but the automation capabilities have made it even easier for users to create powerful email marketing strategies without having to devote countless hours to the process.

Reader Disclosure: Some of the posts on our site may contain affiliate links. Clicking may earn us a commission at no extra cost to you. Thank you for your support! Read our Disclosure

Table of contents:-

See more

Do you want to learn how to use Webflow and Mailchimp to create signup forms and responsive emails? In this tutorial on Webflow Mailchimp Integration, we will show you how to easily connect your Webflow account with Mailchimp so that you can start sending newsletters, automated emails, and other types of content immediately.

Overview of Webflow and Mailchimp

Webflow
Webflow

Webflow is an incredibly versatile system that allows anyone to create and design websites without writing a single line of code, regardless of their technical background. With Webflow, you can effortlessly drag and drop elements into the canvas to build whatever you want.

No need to worry about whether it’s mobile-responsive or properly styled – Webflow takes care of those concerns automatically. Furthermore, developers and designers can easily extend their designs with custom code. It’s no wonder why countless businesses have chosen Webflow to handle all their website needs.

Mailchimp
Mailchimp

On the other hand, Mailchimp is a leading marketing automation platform with over 14 million users across the globe. With the email marketing platform Mailchimp, businesses of all sizes can easily create, manage, send and store newsletters or automated email marketing campaigns to keep their audiences connected and engaged.

MailChimp has tools that make it easy to build targeted segments, create embedded signup forms, optimize delivery timing, and track real-time results. In addition, the platform allows you to gain insights into how your audience engages with various emails through robust analytics. Its intuitive yet powerful design makes it simpler and more enjoyable while giving you the power to improve campaigns over time.

Benefits of Integrating the Two Platforms

Integrating Webflow and Mailchimp provides an excellent opportunity for businesses to increase their reach and optimize their marketing campaigns. It enables businesses to create stunning designs faster than ever before, as well as automated email campaigns based on customer engagement and website visitors.

Having complete access to powerful design tools on MailChimp contact form integration combined with the automated email marketing capabilities of Mailchimp means that businesses don’t have to sacrifice creativity for efficiency – they can achieve both!

Using such integration, businesses can quickly create highly customized websites that reflect their brand and values while collecting customer data for analytics and creating automated follow-up emails. It helps keep customers engaged and increases revenue – making it a win-win situation.

Reader Disclosure: Some of the posts on our site may contain affiliate links. Clicking may earn us a commission at no extra cost to you. Thank you for your support! Read our Disclosure

Arrow Image